Rigs - Lighting technical breakdown
This is a slightly more technical breakdown of how we went about lighting environments for Rigs (2016). As a PSVR project we had a significanly lower performance budget for lights in comparison to Killzone Shadowfall. Our main focus at the start of the project was to see how much better we could make our baked lighting look so that we weren't as dependent on many dynamic lights to achieve a high quality.

Here is a sample view of Rio showing one of the AO buffers in game. This buffer was used as a faint multiplier to the lighting channel but also to remove reflections in strongly occluded areas.

Here is the same view in the albedo only debug view.

Here is the same view in the normal only debug view.

Here is the same view in the roughness (glossiness) debug view.

Here is the same view in the reflectance debug view.

Here is a debug view for sky visibility. This was used to control the amount of sky cubemap visible to a surface assuming there was no coverage from a local cubemap.

Here is the sun occlusion buffer. Initially this was just an optimisation to fast reject sunlight shading on anything pure black. However we were able to refine the bake quality of this channel and use this directly for sunlight shadows for static objects

Here is a maya debug viewport showing our lights to bake with and an approximation of the albedo value of objects to compute bounce light. Coloured bounce was something we added to the lighting pipeline for Rigs.

Here is a maya test render of the baked lights showing direct light only.

Here is a maya test render of the same lights showing indirect (bounce) light only. You can see various areas get a fair amount of colour added to them.

Here is a maya test render of the same lights with both direct and indirect.

Here is the same lighting setup once it has been baked out to lightmaps and running in game. In this view the only dynamic light is the sun with the shadows being precalculated through the sun occlusion channel.

Here is the same view with lighting and a full set of textures.

And finally we add in any additional decals to the scene.

Here is an alternate view in the albedo only debug view.

Here is the same view in the normal only debug view.

Here is the same view in the roughness (glossiness) debug view.

Here is the same view in the reflectance debug view.

Here is the same view in the precalculated AO debug view. This buffer was used as a faint multiplier to the lighting channel but also to remove reflections in strongly occluded areas.

Here is a debug view for sky visibility. This was used to control the amount of sky cubemap visible to a surface assuming there was no coverage from a local cubemap.

Here is the sun occlusion buffer. Initially this was just an optimisation to fast reject sunlight shading on anything pure black. However we were able to refine the bake quality of this channel and use this directly for sunlight shadows for static objects

Here is a maya debug viewport showing our lights to bake with and an approximation of the albedo value of objects to compute bounce light. Coloured bounce was something we added to the lighting pipeline for Rigs.

Here is a maya test render of the baked lights showing direct light only.

Here is a maya test render of the same lights showing indirect (bounce) light only. You can see various areas get a fair amount of colour added to them.

Here is a maya test render of the same lights with both direct and indirect.

Here is the same lighting setup once it has been baked out to lightmaps and running in game. In this view the only dynamic light is the sun with the shadows being precalculated through the sun occlusion channel.

Here is the same view in game with lighting and a full set of textures.

Here is a small test box scene I made to check some of our lighting features worked. Here you can see coloured bounce plus full normal mapping for both diffuse and specular objects. There are no dynamic lights or cubemaps in this view.

Here is a topdown view of one of the ends of our Zurich DLC map

You can see we wanted to have quite a few dynamic lights in this level, we managed to arrange them in a way that had minimal overlap.

To optimise these lights we did a new technique for Zurich. As there was no dynamic sunlight we repurposed the sun occlusion buffer to work for any light types. These key spotlights use a precalculated channel for shadows from static objects.

This is a shot of our Zurich level with our 'fog sheets' disabled. These were hand placed very localised pockets of transparency that were used to highlight specific areas.

Here fog sheets are enabled, this adds a lot of depth were required and helps highlight specific routes. These sheets will fade out as the player gets close.

This is an example of the IBL grid for a level. It's pretty standard stuff. We had tools to auto place IBL probes along geometry borders, I also tended to add them along navigable waypoints. These probes are used to light dynamic objects like RIGs.

This is an example of how cubemaps are added to the level, the screenshot is fairly meaningless by itself though. In addition to these there is a fallback cubemap of the sky if geometry is not inside a local cubemap.

Here are the base level local cubemap zones. These have the lowest priority setting.

These are the mid priority cubemaps that well override the base layer when active. These will LOD out from being active at moderate range for performance.

These are the highest priority local cubemaps that will override all other ones. They tended to have very aggressive LOD ranges for performance.
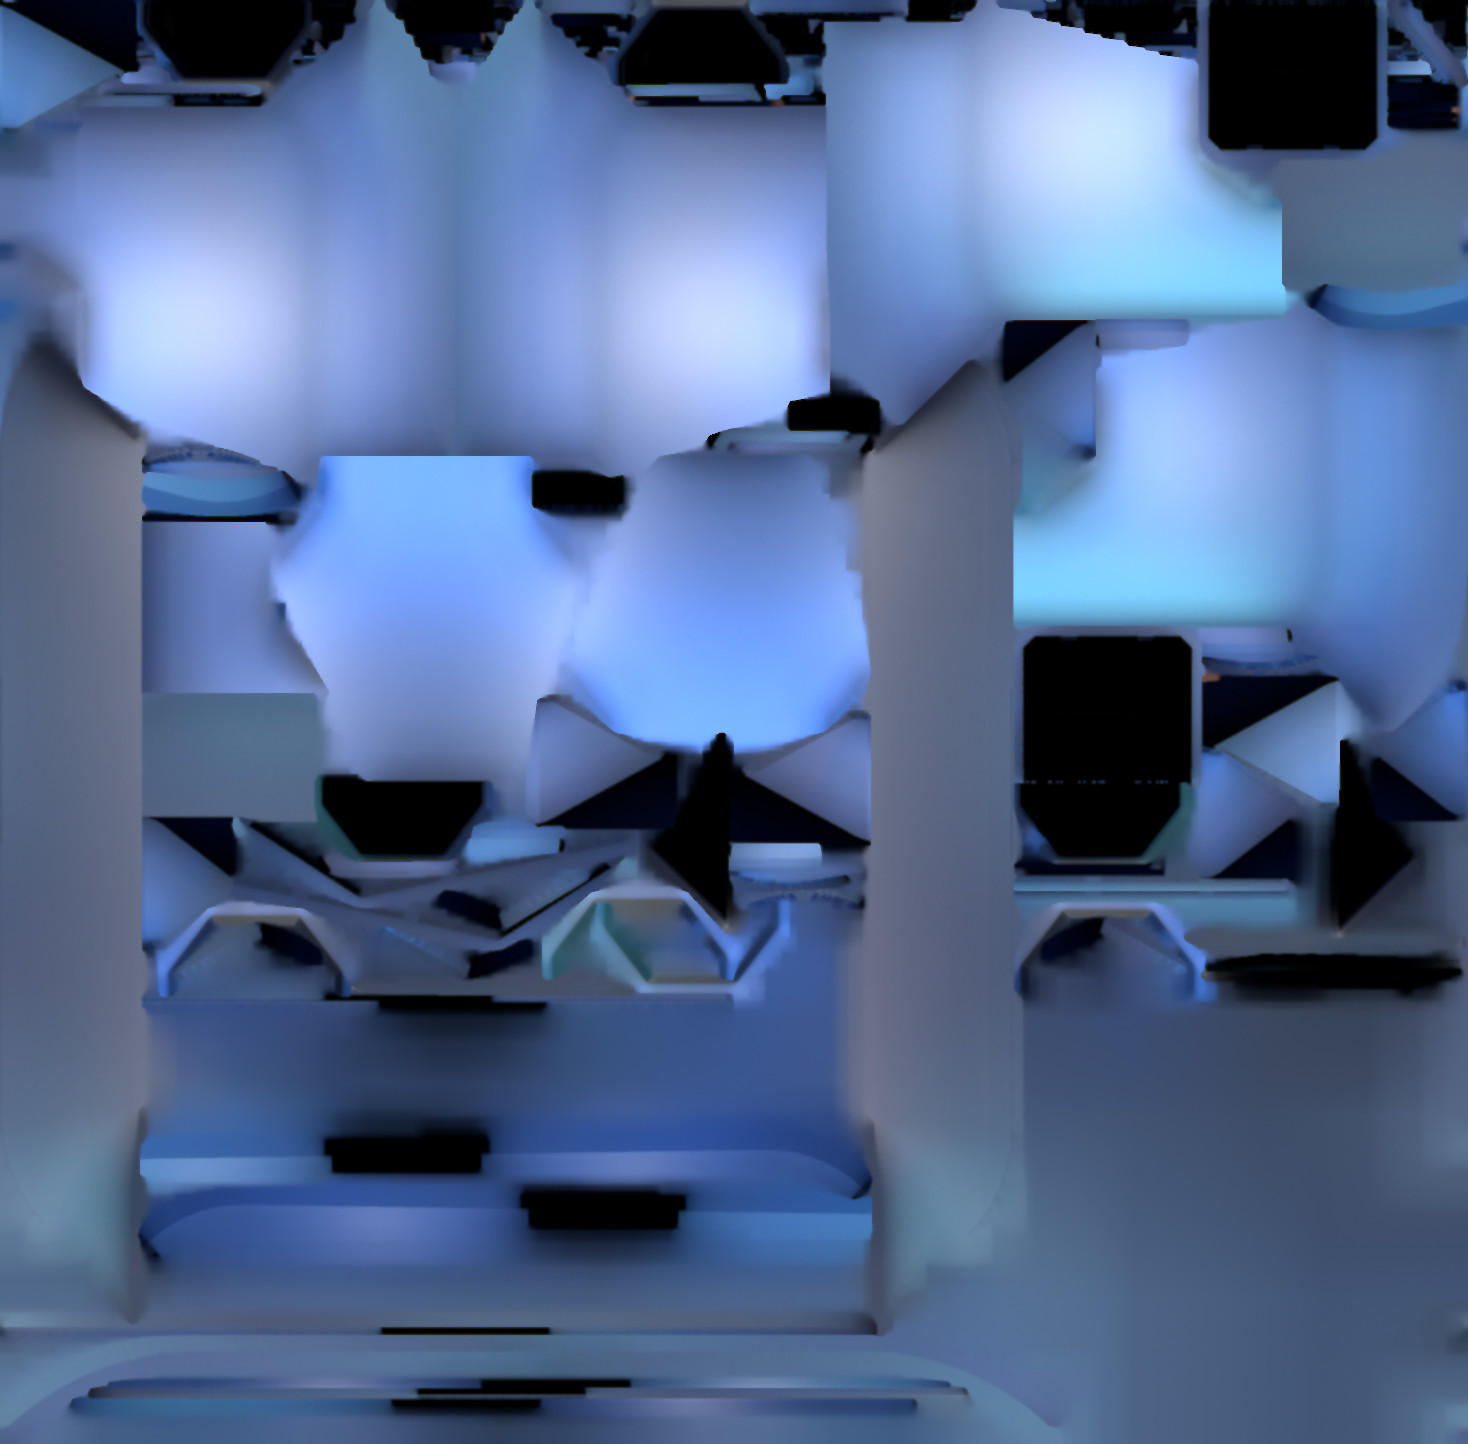
Here is an example of a lightmap texture that has been baked out of Nova. The above is the colour and brightness of a random bit of Zurich in 16bit precision. Lightmaps for KZ:SF were only 8 bit, this is something we upgraded for Rigs.
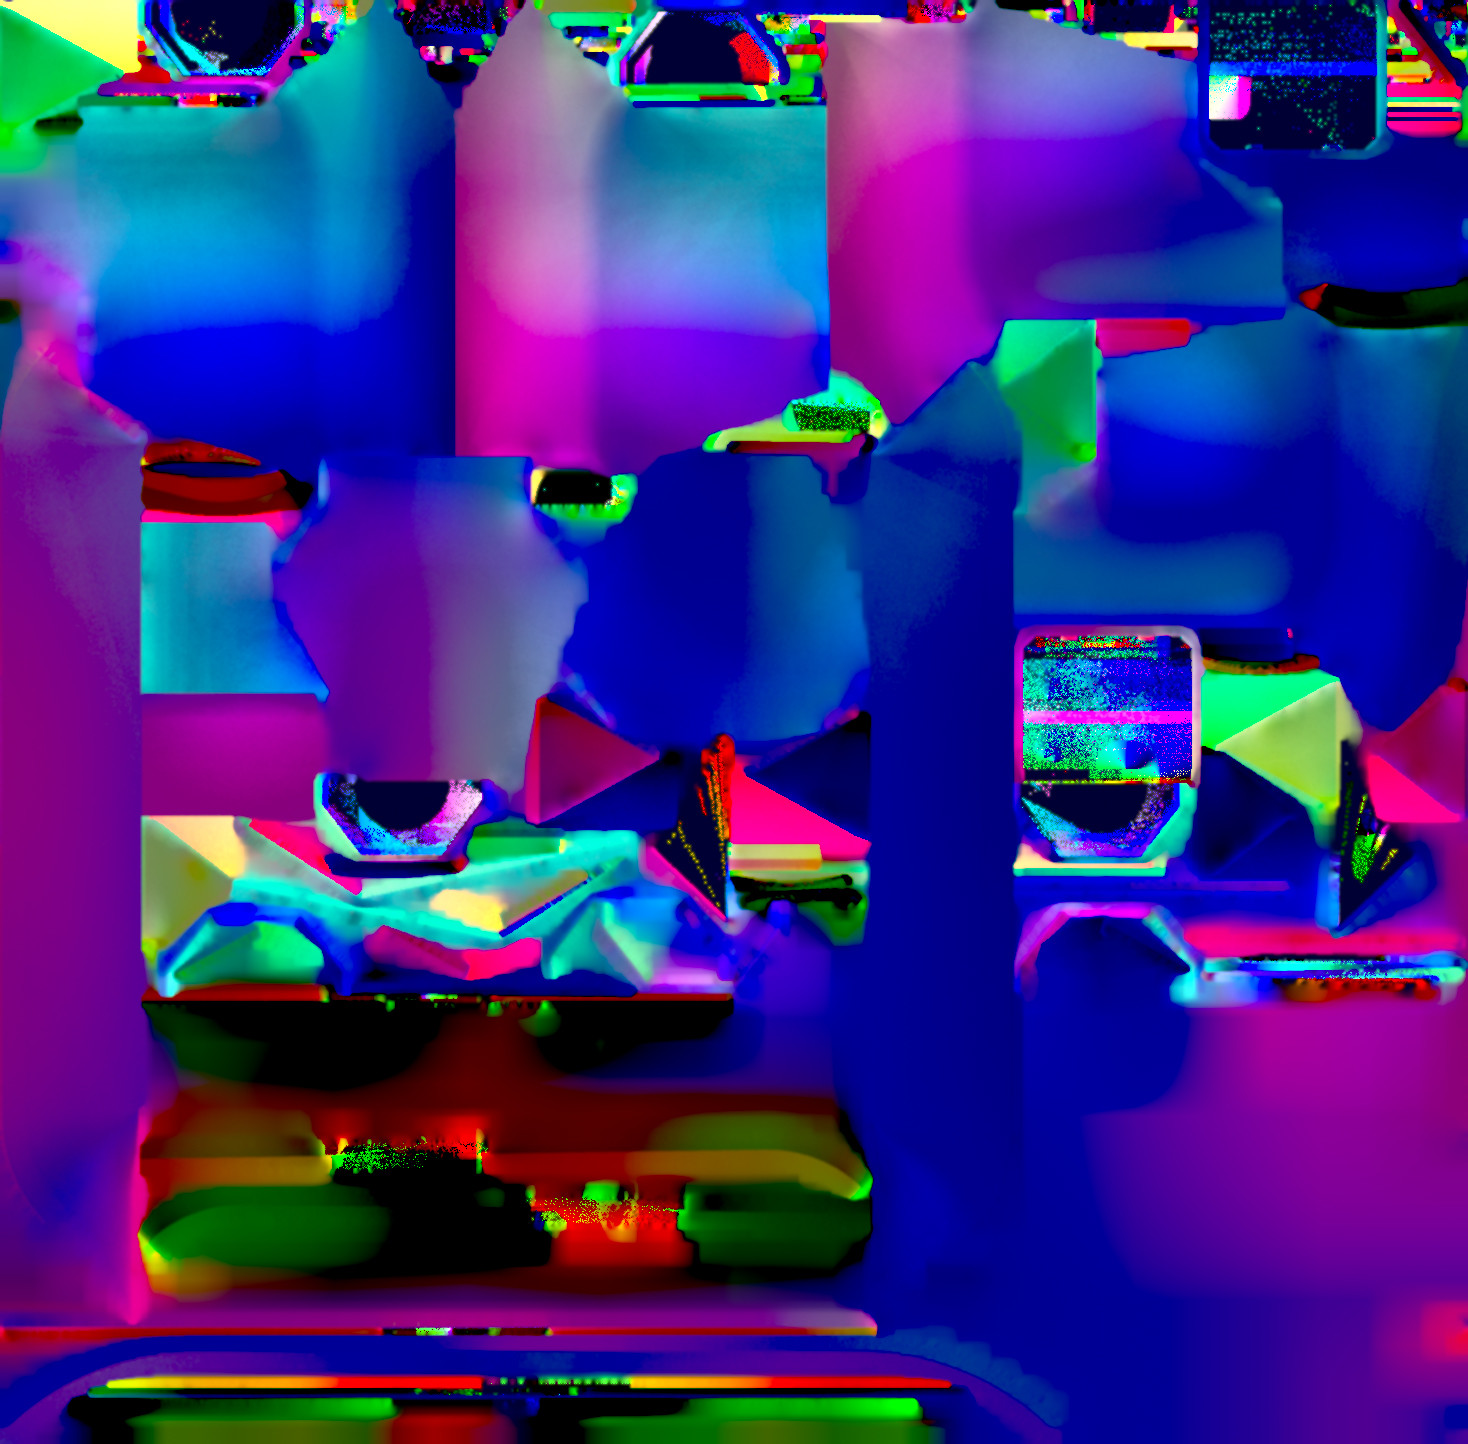
Here is a custom lightmap channel called 'Mean Light Direction' It is essentially a normal map for what direction the light is coming from in world space. This was used for normal and specular mapping.

This is a lightmap channel for called 'Far AO' or sky visibilty. This is used for defining how much of the fallback cubemap is used if geometry is not inside a local cubemap.

This is the 'CloseAO' channel which is essentially AO with around a 6 metre ray length. This is used to mask lighting faintly and to heavily mask reflections in recesses.

This is the light occlusion channel. Either for sun occlusion or for specific spotlight occlusion. This particular lightmap is taken from Zurich which uses spotlight occlusion.

This is a combined lightmap for this piece of geometry. It is saved in (I think) the BC6 format. The three masks are combined together in RGB. The mean light direction goes through some maths which makes it closer to grey. The bottom two are half width.